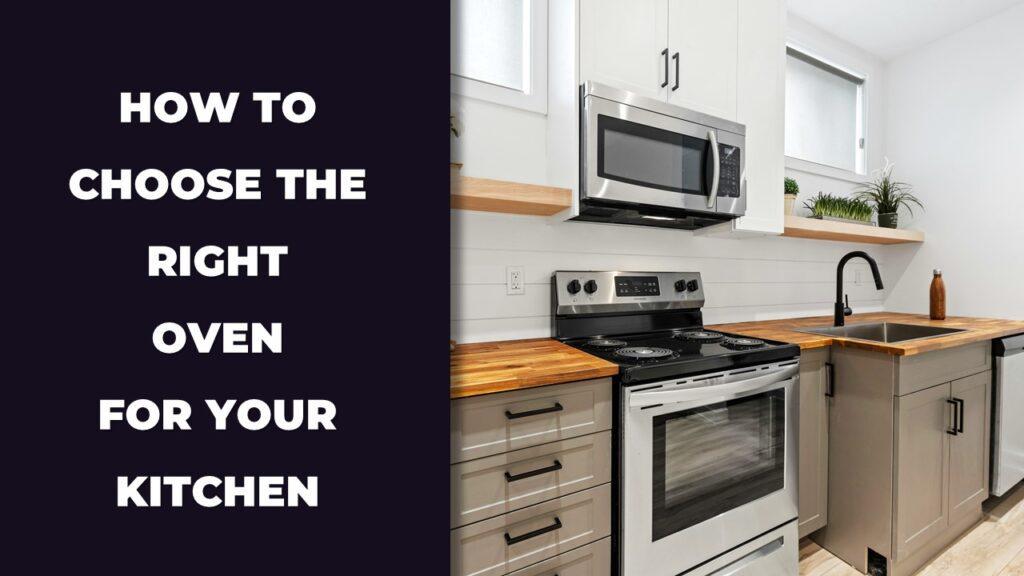
Oven settings control how heat is used to cook your food, depending on the dish. Common settings include Bake for steady all-around heat, Convection for faster, even cooking with a fan, Broil for quick top-down searing, and Roast for high heat and crispy edges. Others like Air Fry, Keep Warm, and Proof handle more specific tasks like crisping, holding heat, or helping dough rise.
In this article, we are going to break down what each setting does and when to use it, so you can stop guessing and cook with more confidence.
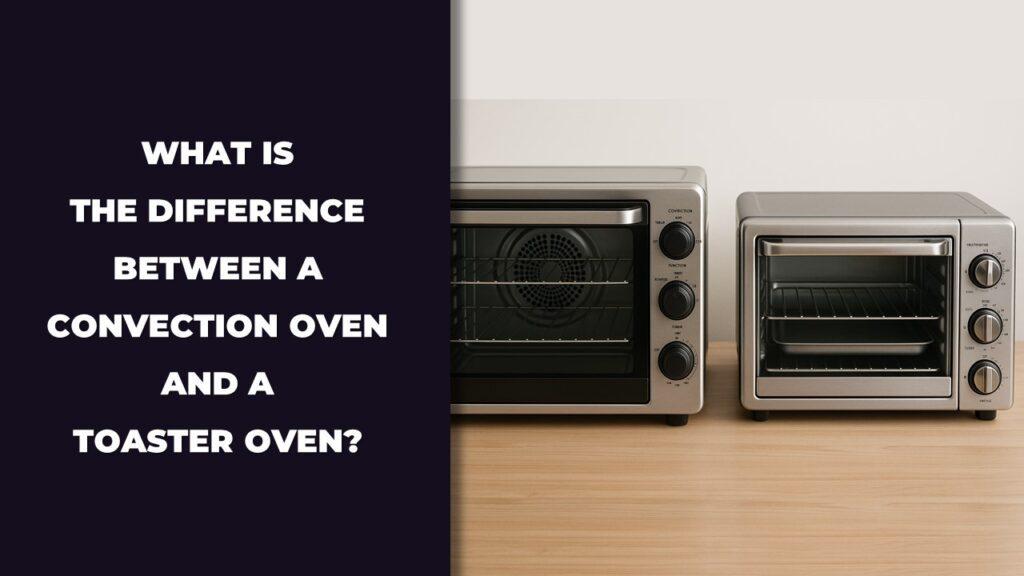
What Are Oven Settings And Why Do They Matter?
Oven settings are built-in cooking modes that control how heat is used in the oven, either from the top, bottom, or with a fan to circulate air. Common settings include Bake for steady heat, Broil for direct top heat, Convection for faster, even cooking, and Roast for high heat that adds crispness. These settings help cook different foods the right way without constant adjustments.
Each mode is designed to match a certain cooking need. Baking a cake needs gentle heat from all sides, while roasting meat works better with higher temperatures and airflow to crisp the outside. If you use the wrong setting, your dish might cook unevenly or take much longer than expected.
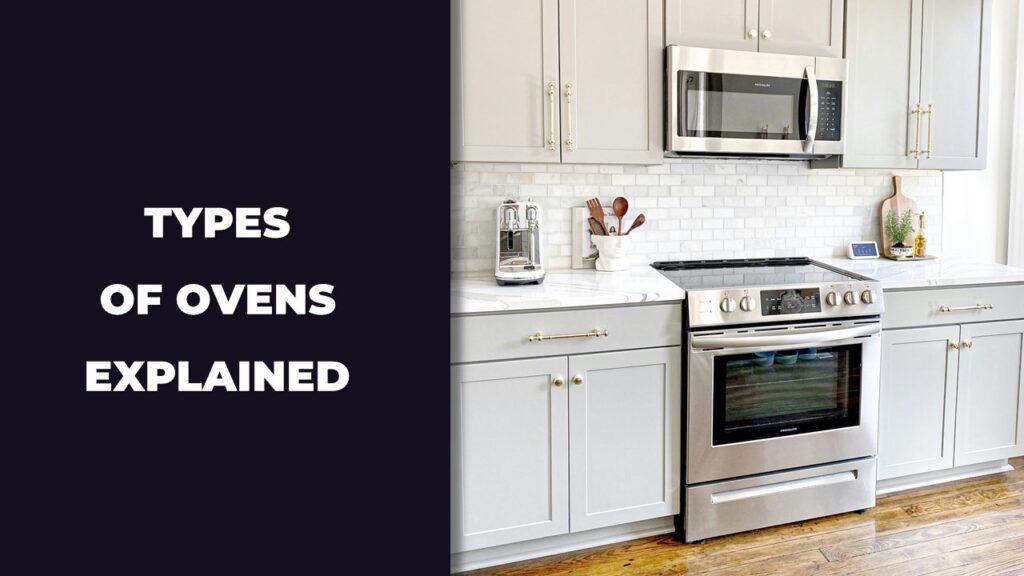
Newer ovens often include extra settings like Air Fry, Proof, Keep Warm, or Steam Clean. These might seem confusing at first, but they’re made to save time and improve results. When you know how and when to use each one, cooking becomes easier and more predictable.
Common Oven Settings Explained
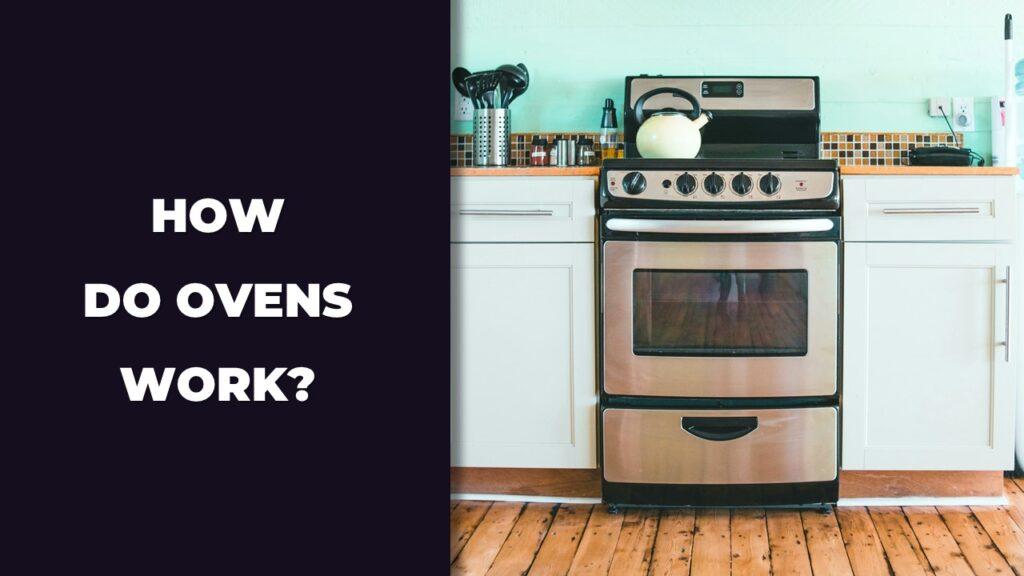
Oven settings let you control how heat is applied during cooking—whether it’s coming from the top, the bottom, or moving around with a fan. Some settings are better for slow, even baking, while others help with quick browning or crispy finishes. Knowing which setting to use can make your food cook faster, taste better, and come out looking right.
Most ovens come with a few key modes like Bake, Convection, Roast, and Broil. Newer models often include features like Air Fry, Grill, or Bottom Heat Only. Each one has a purpose, and understanding when to use them can save you time and frustration in the kitchen.
Here’s what each setting does and how it can help you cook smarter.
Bake (Conventional Mode)
The Bake setting uses both the top and bottom heating elements to spread steady heat throughout the oven. It’s the most common mode and works well for dishes that need gentle, all-around cooking.
Bake is perfect for cookies, cakes, casseroles, and bread. It’s also great when you’re cooking just one item in the center of the oven. Use the middle rack for even results. If your dish is browning too fast on top, try moving it lower.
Convection Bake
Convection Bake adds a fan to the baking process. The fan moves hot air around the oven, which helps food cook faster and more evenly across multiple racks.
This setting is helpful when baking multiple trays of cookies or roasting vegetables. It reduces hot spots and gives a more consistent color and texture. If you’re using a recipe that wasn’t written for convection, reduce the temperature by about 25°F to avoid overcooking.
Roast
The Roast setting uses higher heat than Bake and often combines both the top and bottom elements. It’s made for cooking larger or denser foods like meats and root vegetables.
Roasting works well for items that need a crispy or browned exterior, such as whole chickens, beef roasts, or potatoes. It’s also slower than broiling, giving the inside of the food time to cook without drying out the outside.
Convection Roast
Convection Roast uses the oven fan along with high heat to create a crisp outer layer while cooking the inside evenly. It’s ideal for meats, poultry, and dishes that benefit from both roasting and air circulation.
Use this setting for roast chicken, pork loin, or turkey. It helps the skin get golden and crispy without drying out the meat. It’s also good for cooking large pans of vegetables with a nice char.
Broil
Broil uses only the top heating element to deliver intense, direct heat. It’s great for quick cooking methods that require high temperatures from above.
Use Broil for searing steaks, melting cheese, toasting bread, or caramelizing the top of casseroles. Keep a close eye on your food while broiling—it cooks fast and can burn quickly if left unattended.
Grill
Grill mode is similar to Broil but often runs at a slightly lower intensity and may be designed for larger portions or longer cooking times. Some ovens offer both full and half-grill settings.
Grill is useful for burgers, fish, chicken, or even vegetables when you want that charred look and flavor. It’s like bringing outdoor grilling into your kitchen, especially handy in bad weather.
Air Fry
Air Fry uses high heat and a built-in fan to circulate air around the food, creating a crispy texture similar to deep frying, but without the oil.
It’s perfect for frozen foods like french fries, nuggets, and onion rings, or homemade options like breaded chicken or roasted chickpeas. For best results, use a mesh tray or wire rack so the air can move freely around your food.
Bottom Heat Only
This setting activates only the lower heating element. It’s useful for dishes that need extra browning or a crisp base, without overcooking the top.
Use Bottom Heat for pizza, quiche, or pastries that require a firm crust. It’s also good for reheating food without drying it out, especially if the top is already cooked.
Top Heat Only
Top Heat Only turns on just the upper element and is useful for browning or finishing off dishes. It gives a gentler version of broiling, sometimes helpful when you don’t want intense heat.
Use it to reheat leftovers with a soft top or to lightly brown the surface of baked goods. It’s also handy when the bottom is done but the top needs a bit more color.
Specialty Functions Found In Modern Ovens
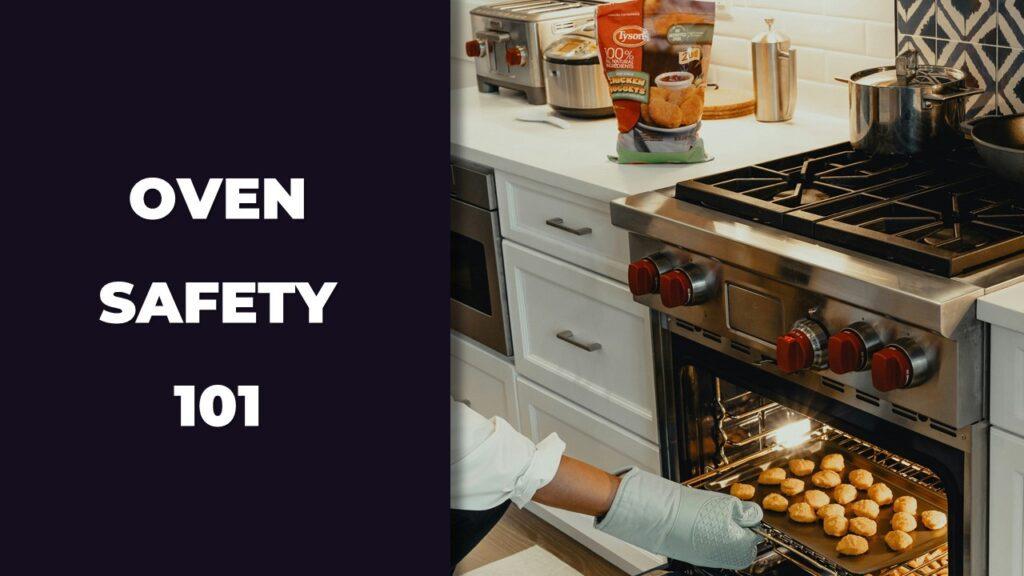
Modern ovens come with extra features that go beyond basic baking or roasting. Specialty oven functions like Proof, Keep Warm, and Defrost are designed to help with specific cooking or prep tasks. Others like Preheat, Self-Clean, and Sabbath Mode add convenience, oven safety, or hands-off operation for special situations. These features make cooking more flexible and save time in the kitchen.
As ovens get smarter, these added functions can feel overwhelming at first. But once you know what they do, they become tools you’ll actually use—especially when baking bread, warming leftovers, or trying to keep your oven clean with less effort. Here’s how each function works and when to use it.
Proof
Proof mode creates a warm and slightly humid space, perfect for rising bread or pizza dough. It gently holds the oven at a low temperature, usually between 80°F and 100°F, so yeast can activate without cooking the dough.
Use this setting for homemade bread, rolls, cinnamon buns, or any yeast-based recipes. It helps the dough rise more reliably than leaving it on a countertop, especially in cold or drafty kitchens.
Keep Warm
Keep Warm mode holds cooked food at a safe serving temperature without drying it out or continuing to cook it. Most ovens use a temperature between 145°F and 190°F for this setting.
This is great when dinner is ready but someone’s running late. Use it for casseroles, side dishes, or baked goods you want to serve warm. Just avoid leaving meat or poultry in this mode for too long, since lower temps can lead to drying or unsafe holding over time.
Defrost
The Defrost setting uses gentle air circulation without heat to thaw frozen food evenly. It works best for items like frozen meat, bread, or baked goods.
While it’s not as fast as a microwave, Defrost in the oven gives you more control and avoids partially cooking the food. It’s a helpful option if you forgot to take something out of the freezer but still want a smooth thaw before cooking.
Preheat / Rapid Preheat
Preheat brings the oven up to the set cooking temperature before you place your food inside. Some ovens also have a Rapid Preheat mode that heats the oven faster, usually by activating multiple heating elements at once.
Rapid Preheat is handy when you’re short on time or cooking something sensitive like baked goods. Always wait for the preheat signal before baking cookies, cakes, or bread—starting too early can lead to uneven results.
Self-Clean / Steam Clean
Self-Clean mode uses extremely high heat to burn off grease and food residue, turning it into ash you can easily wipe away. This cycle usually runs for 2 to 4 hours and leaves the oven very hot for a while afterward.
Steam Clean is a gentler option that uses water and heat to loosen grime. It’s quicker, usually under 30 minutes, and works well for light messes or regular upkeep.
Use Self-Clean only when the oven is very dirty and make sure the room is well-ventilated. Use Steam Clean for smaller spills and to avoid harsh smells or smoke.
Sabbath Mode
Sabbath Mode is a special setting that keeps the oven running at a steady temperature without triggering lights, sounds, or automatic shut-offs. It’s made for those observing Jewish Sabbath rules, which prohibit changing oven settings once the Sabbath begins.
When Sabbath Mode is on, the oven won’t beep, turn lights on or off, or change temperature automatically. It allows food to stay warm and safe for extended periods without user interaction.
New Smart Oven Settings You May Find
Smart ovens now come with advanced features that make cooking more convenient and hands-free. Newer settings like Delay Start, Wi-Fi control, and Auto Cooking Modes let you plan, monitor, or automate your meals with just a few taps. These functions aren’t just tech gimmicks—they’re built to help busy cooks save time, avoid overcooking, and get more consistent results.
While not every oven will have all of these smart features, many models released in recent years include at least a few. If you’re upgrading your kitchen or learning how to use a modern oven, here’s what these new settings do and how they make cooking simpler.
16. Delay Start
Delay Start lets you set your oven to turn on at a later time. You can program both the start time and the temperature, so your meal begins cooking even when you’re not in the kitchen.
This feature is useful if you want dinner ready when you walk in the door or need to time cooking with other tasks. Just be sure your food is safe to sit out for a while, especially if it contains raw meat or dairy.
17. Timer & Clock
Most ovens include a Timer and Clock, but smart models often have more flexible options. The timer can count down cooking time, while the clock helps manage start and stop functions for other features like Delay Start or Keep Warm.
Use the timer when you need a reminder to check your dish or rotate pans. It’s especially helpful when baking or when you need to turn off the oven at a specific time but don’t want to rely on memory.
18. Wi-Fi & App Control
Wi-Fi and app control allow you to operate your oven from your smartphone or tablet. You can preheat the oven, change temperature settings, start or stop cooking, and get alerts when your dish is done—all from another room or even outside the house.
It’s perfect for busy schedules or multitasking. For example, you can preheat the oven while driving home from work, or check if dinner’s ready without leaving the couch. Just make sure your app is connected and your oven model supports remote features.
19. Auto Cooking & Preset Menus
Auto Cooking or Preset Menu functions let you choose from a list of common dishes—like lasagna, cookies, pizza, or roast chicken—and the oven will set the time and temperature for you.
This setting takes the guesswork out of cooking and is helpful if you’re unsure how long to bake or what temp to use. Just select the food type, confirm the weight or portion size, and let the oven handle the rest.
20. Food Probe Mode
Food Probe Mode uses a temperature sensor (or meat probe) that plugs into the oven and goes into the thickest part of your food. The oven monitors the internal temperature and stops cooking once the target is reached.
It’s a great tool for roasting meat, poultry, or even thick casseroles. You don’t have to cut into the food to check if it’s done, and you avoid overcooking. Just set your desired internal temp—like 165°F for chicken or 135°F for medium-rare beef—and the oven takes care of the rest.
Oven Symbol Guide: What Those Icons Mean
Modern ovens often come with symbols instead of words, and some of them can be a little confusing at first. These icons represent specific heating methods or features, helping you quickly choose the right setting. Once you know what each one means, using your oven becomes much simpler.
Here’s a quick-reference guide to the most common oven symbols:
- Fan symbol: This stands for Convection mode. It means the fan will circulate hot air around the oven for even, fast cooking.
- Top bar: This represents the Broil setting. It uses only the top heating element for quick searing or browning.
- Bottom bar: This shows Bottom Heat mode. It focuses heat at the base, ideal for crisping crusts or finishing baked goods.
- Fan with grill: This indicates Fan Grill mode. The top element and fan work together, useful for roasting meats or browning.
- Plate with steam lines: This symbol means Keep Warm. It gently holds food at serving temperature without overcooking.
Which Oven Setting Should You Use? (With Examples)
Choosing the right oven setting depends on what you’re cooking. The goal is to match the cooking style to the food type for better taste, texture, and timing. Here’s a simple chart to help you decide:
| Dish Type | Best Oven Setting | Why It Works |
| Bread & Cakes | Bake | Provides gentle, balanced top and bottom heat |
| Cookies | Convection Bake | Circulates air for even browning across trays |
| Pizza | Bottom Heat or Pizza Mode | Crisps the crust from below |
| Roast Chicken | Roast or Convection Roast | Browns the skin while keeping meat juicy |
| Vegetables | Convection Roast | Speeds up cooking and gives a nice char |
| Salmon Fillets | Broil | Searing heat from the top cooks quickly |
| Casseroles | Bake | Cooks the center evenly without burning the top |
| Frozen Foods | Frozen Bake or Air Fry | Cooks from frozen without preheating |
These pairings aren’t set in stone, but they give you a reliable starting point. The better you understand what each mode does, the easier it is to get great results every time.
Tips For Using Oven Settings More Effectively
Using oven settings the right way can help you cook faster, save energy, and get more reliable results. Small changes like choosing the right rack, preheating properly, or switching settings mid-cook can make a big difference in how your food turns out.
Here are some practical tips to help you get the most from your oven:
- Preheat fully before cooking: Always wait for the oven to reach the set temperature, especially when baking cakes, cookies, or bread. Starting too early can lead to uneven cooking.
- Use the right rack position: The middle rack works best for even cooking. Use lower racks for bottom browning and upper racks for top crisping.
- Avoid opening the door often: Every time you open the oven door, heat escapes. This affects cooking time and temperature accuracy.
- Use convection settings for multi-tray cooking: If you’re baking multiple trays, convection mode helps cook them more evenly by moving air throughout the oven.
- Match bakeware to your setting: Dark pans absorb more heat and brown faster, while shiny pans reflect heat and slow browning. Choose based on what you’re baking.
- Clean up spills early: Wipe up messes after the oven cools to avoid smoke or smell the next time you cook. Use Steam Clean regularly for light maintenance.
- Test your oven’s accuracy: Use an oven thermometer if your food often over- or undercooks. Some ovens run hotter or cooler than the display shows.
Conclusion
Learning how to use your oven settings properly isn’t just about hitting the right temperature. It’s about choosing the best heating method for what you’re cooking—whether you’re baking soft cookies, roasting a chicken, or crisping frozen fries. Knowing when to use Bake, Broil, Convection, or Air Fry can help you avoid burnt edges, raw centers, or soggy crusts.
Modern ovens offer far more than just basic heat. From Proof and Keep Warm to Wi-Fi control and Food Probe Mode, each function is designed to solve a specific cooking problem. Once you understand how they work, you’ll find yourself using them more often and with more confidence.
Whether you have a simple electric oven or a smart model with dozens of features, mastering your oven settings helps you cook better, waste less food, and enjoy meals that come out just right. It’s not about being perfect, it’s about knowing what tool to use at the right time.
FAQs
What Oven Setting Is Best For Baking Cake?
The Bake setting is best for baking cakes. It uses steady top and bottom heat for even rising and a soft, moist texture.
Can I Use Convection For Everything?
Convection can be used for many dishes, but it’s not ideal for delicate bakes like cakes or soufflés that rise gently.
What Does The Air Fry Setting Do In An Oven?
Air Fry uses a fan and high heat to create a crispy texture with little or no oil, mimicking deep frying in a healthier way.
What Temp Is Keep Warm Mode?
Keep Warm mode typically holds food between 145°F and 190°F, just enough to maintain serving temperature without overcooking.
Do I Need To Preheat For All Settings?
Preheating is important for Bake, Roast, and Broil settings, but not always required for Defrost, Keep Warm, or Air Fry in some models.
What Setting Cooks Food Fastest?
Convection Bake and Convection Roast cook the fastest by circulating hot air evenly, reducing cooking time and improving browning.

Max Fletcher is a self-taught electrician-turned-baker who combines technical know-how with a love for baking to help readers get the most from their ovens. Drawing on years of electrical experience and hands-on kitchen testing, he shares practical guides and reviews on oven performance, safety, and baking results, all with the heart of a family man who believes great food starts with understanding your tools.