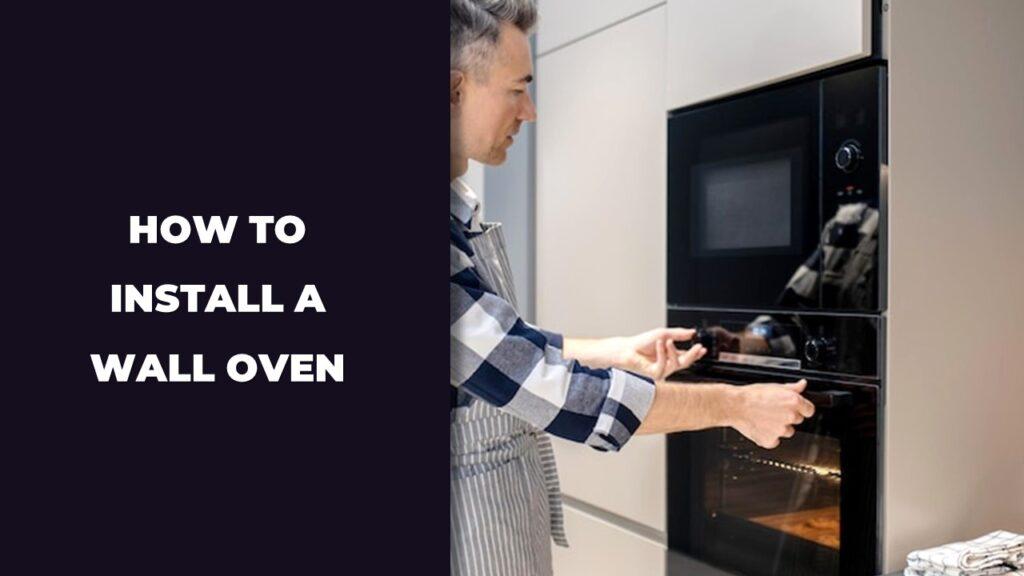
Yes, you can install a wall oven yourself if you’re handy with basic tools and comfortable working around wiring or gas lines. The main steps are cutting power, removing the old oven (if there is one), prepping the space, making the connections, and securing the new unit in place. Just be sure to follow safety guidelines and get help if needed.
This article covers everything you need to know, step by step. From measuring the cabinet to wiring, leveling, and testing, it’s all broken down in simple, clear language.
Pre-Installation Basics: What You Must Know First
Before you install a wall oven, you need to know a few key things, like whether you’re allowed to do it yourself, what kind of power setup you need, and if your cabinet has the right size and space. You also want to check if the wiring or gas line is already in place or if you’ll need to add one. Skipping these early steps can turn a simple project into a frustrating mess.
Can You Install a Wall Oven Without Hiring Someone?
Yes, if you have basic DIY skills and understand how to work safely with electricity or gas. Most wall ovens are made for homeowner installation, but not everyone is comfortable dealing with wiring or tight spaces. If you’re unsure, it’s okay to call in a pro for just the tricky parts—like the wiring or gas hookup—while you do the rest.
Understand the Power and Cabinet Requirements
Wall ovens usually need a 240V electrical line and must be hardwired into a junction box. Gas ovens also need a nearby gas line and a shutoff valve. You’ll want to check if those are already in place. If not, the job may be bigger than expected. On top of that, your cabinet needs proper clearance around the sides, top, and back for airflow and safe operation.
Measure Everything Twice
Standard wall ovens come in widths of 24, 27, and 30 inches. But it’s not just about width—you’ll also need to check the cutout height, depth, and space for door clearance. Use a measuring tape to check your cabinet opening, and compare it with the oven’s specs in the manual. Leaving about ¼ inch on each side is a good rule of thumb. If you’re off by even a little, the oven might not fit, or worse, it could overheat.
Tools and Supplies Checklist
To install a wall oven, you’ll need a few basic tools and supplies. Most are common household items, but a couple are especially helpful for handling electricity safely and fitting the oven into place properly.
Here’s what you should have ready:
Basic Tools You’ll Need
- Phillips and flathead screwdrivers: For removing and tightening screws
- Measuring tape: To check cabinet size and oven dimensions
- Drill with 1-inch bit: For drilling new holes if needed
- Level: To make sure the oven sits straight and doesn’t tilt
- Wire strippers: To cleanly strip insulation off electrical wires
- Wire connectors: Twist-on caps for connecting wires securely
- Non-contact voltage tester: To safely check that the power is off
- Utility knife: For trimming tape, cable covers, or insulation
Helpful Extras
- Cardboard or thick blanket: To place under the oven so it doesn’t scratch your floor
- Adjustable wrench: Needed if connecting a gas oven
- Dish soap and spray bottle: Used to test gas line connections for leaks
- Safety gloves and glasses: For basic hand and eye protection
- Appliance dolly or sliders: Useful if moving the oven without help
Having these tools close by keeps the job simple, safe, and manageable without running back and forth.
Step-by-Step Guide to Installing a Wall Oven
The step-by-step process to install a wall oven involves switching off the power, prepping the cabinet space, wiring the new unit, and sliding it securely into place. This applies to both single and double wall ovens and works whether you’re replacing an old model or doing a fresh install.
- Shut off power at the breaker
- Prep cabinet and remove old oven (if needed)
- Take off new oven doors for lighter handling
- Locate or cut access to the junction box
- Install oven feet or mounting rails
- Connect wiring or gas line
- Slide oven into cutout space
- Secure oven to cabinet with screws
- Reattach doors, trims, and test
This wall oven installation guide covers both electric and gas models with detailed steps that work for DIYers. Each step below is written for clarity and safety.
Step 1: Turn Off the Circuit Breaker
Go to your breaker panel and shut off the oven circuit. Always confirm the power is off using a non-contact voltage tester before touching any wires. Label the breaker for quick access later. This step is non-negotiable when installing an electric wall oven.
Step 2: Prep the Area and Remove Old Oven
If replacing an existing wall oven, disconnect it from the electrical or gas line. Have someone help support the unit as you slide it out of the cabinet cutout. Remove all mounting screws and save any trim pieces that might be reused.
Step 3: Remove the Doors from the New Oven
To make lifting easier and avoid damage, remove the oven doors before installation. Place them on a thick blanket or piece of cardboard, handle side down. This is especially helpful when installing a double wall oven.
Step 4: Locate or Create Access to the Junction Box
Find the wall oven junction box—usually 3 inches above or below the cutout. If it’s not visible, carefully cut an access panel in the drywall. You’ll need this space to complete a safe electrical connection or gas line hookup.
Step 5: Install Mounting Rails or Oven Feet (If Required)
Some ovens need support brackets or leveling feet installed before mounting. Follow your model’s instructions closely, as the rail height varies between single and double ovens. This helps you get the oven flush and stable inside the cabinet.
Step 6: Make the Electrical or Gas Connection
Electric Oven Wiring
Strip the ends of both the oven wires and the home wiring inside the junction box. Use color-coded matches—red to red, black to black, white to white, green or bare for ground. Use twist-on wire connectors to join them, and attach the ground to the grounding screw or wire loop. This method works for hardwired wall ovens.
Gas Oven Hookup
Apply pipe thread sealant to the oven’s gas fitting. Use a wrench to tighten the coupler onto the gas line. Spray a soap and water mix onto the connection to check for leaks. If bubbles appear, retighten. If not, the seal is good and you’re ready to plug in the oven.
Step 7: Lift and Slide the Oven into Cabinet
With another person, carefully lift and position the oven into the cabinet opening. Watch the wires or gas line to prevent kinks or pinching. Slide the oven until it’s flush with the front of the cabinet.
Step 8: Secure Oven to Cabinet
Use the provided screws to anchor the oven in place. These usually go through side flanges or into pre-drilled holes on the trim. Use a level to confirm that the oven is straight across and does not tilt forward or back.
Step 9: Reattach Oven Doors and Trims
Put the oven doors back on by following the hinge instructions in your manual. Reinstall side trims or fillers to hide gaps around the cabinet cutout. Once everything is back in place, the oven should look clean and built-in.
Testing and Final Setup
After installing your wall oven, you need to run a few checks before using it. These final steps confirm everything is working, safe, and properly aligned. Don’t skip this part—it’s where most small mistakes show up.
Here’s what to check before you cook anything:
- Turn the power or gas back on: Restore the breaker or open the gas valve
- Check display and lights: Make sure the control panel lights up
- Run a test bake cycle: Set a short bake to confirm the heating elements work
- Listen for unusual noises: Fan sounds are normal, grinding or clicking may not be
- Smell check: A slight burn smell is normal the first time, but it should fade quickly
- Confirm door seal: Make sure the oven door closes tightly and evenly
If everything looks and works as it should, you’re good to go. Now the oven is ready for regular use.
Troubleshooting Installation Issues
If your oven isn’t working right after installation, don’t panic. Most problems are small and easy to fix. Check each part of the setup methodically—sometimes it’s just one loose wire or a missing screw.
Here’s what to look for:
- Oven won’t turn on: Check the breaker, wire connections, and that power is fully restored
- Display is blinking or dim: Likely a poor wire connection or partial power issue
- Gas smell after hookup: Shut off valve immediately and recheck the seal with a soap test
- Oven doesn’t sit flush: You may need to adjust the mounting feet or reposition the cabinet trim
- Door won’t close properly: Recheck hinge installation or door alignment
- No heat during test: Heating element wiring may be off or incomplete
When in doubt, stop and recheck the manual. If things still don’t seem right, it’s better to call a professional than risk damage or danger.
Expert Tips for a Smooth DIY Installation
Want your wall oven installation to go off without a hitch? A few smart habits and extra checks can make the process easier and safer. These small tips help you avoid the little things that turn into big problems later.
Here are some things people often overlook:
- Read the manual before doing anything: Don’t wait until step five to figure something out
- Double-check wire colors and grounding: It’s easy to match the wrong pair if you’re rushing
- Label your breaker: Makes future repairs way less confusing
- Use a level at two points: Check side-to-side and front-to-back
- Keep a small container for screws: Nothing worse than losing one halfway through
- Take a photo of the wiring: Handy if you ever need to uninstall or troubleshoot
- Have someone help with the heavy parts: You’ll move faster and avoid damage
- Don’t force the oven into place: If it’s not sliding in, something’s probably off
A little patience here goes a long way. You’re not just installing an oven—you’re setting yourself up for stress-free cooking later.
Wrapping It Up
Installing a wall oven by yourself isn’t as hard as it might sound. With the right tools, some basic wiring knowledge, and a bit of help for the heavy lifting, you can get the job done safely in just a few hours. Whether it’s a single or double wall oven, the key is to follow each step carefully and don’t rush it.
This guide walked you through everything from cutting off the power to reconnecting the oven doors. It covered how to find the junction box, connect the wiring or gas line, and mount the oven so it sits straight inside your cabinet. These are the steps that help avoid problems down the line.
If something feels off, like a loose wire, bad fit, or strong gas smell—stop and double-check before moving forward. A solid installation doesn’t just make the oven look neat, it makes it safer and easier to use for years to come.
Related FAQs
Can I install a wall oven myself?
Yes, you can, if you have basic experience with home electrical work and follow safety protocols. Most single or double-electric wall ovens come with detailed manuals and can be installed in a few hours with the help of a second person. However, if you’re unsure about electrical wiring or working with gas lines, it’s safer (and often required by code) to hire a licensed professional.
Do wall ovens need ventilation?
Wall ovens require some clearance for proper airflow, especially around the cabinet cutout. However, they don’t usually need external venting like range hoods unless stated by the manufacturer.
Can you plug a wall oven into an outlet?
Most wall ovens are hardwired into a junction box and do not come with a plug. Plug-in models are rare and usually only for small or specialized units.
How much does it cost to install professionally?
Professional installation ranges from $150 to $500, depending on location, oven size, and whether electrical or cabinet modifications are needed.
How long does it take to install a wall oven?
A standard DIY installation usually takes 2–4 hours if the cabinet and junction box are already in place. Complex setups may take longer.
Can you stack a microwave over a wall oven?
Yes, many homeowners install a built-in microwave over their wall oven using combo kits or custom cabinetry. Just make sure the combined height fits your cabinet opening.
Do wall ovens come with a power cord?
Most built-in ovens do not come with a power cord because they are designed to be hardwired. Always check the manual for your specific model.

Max Fletcher is a self-taught electrician-turned-baker who combines technical know-how with a love for baking to help readers get the most from their ovens. Drawing on years of electrical experience and hands-on kitchen testing, he shares practical guides and reviews on oven performance, safety, and baking results, all with the heart of a family man who believes great food starts with understanding your tools.