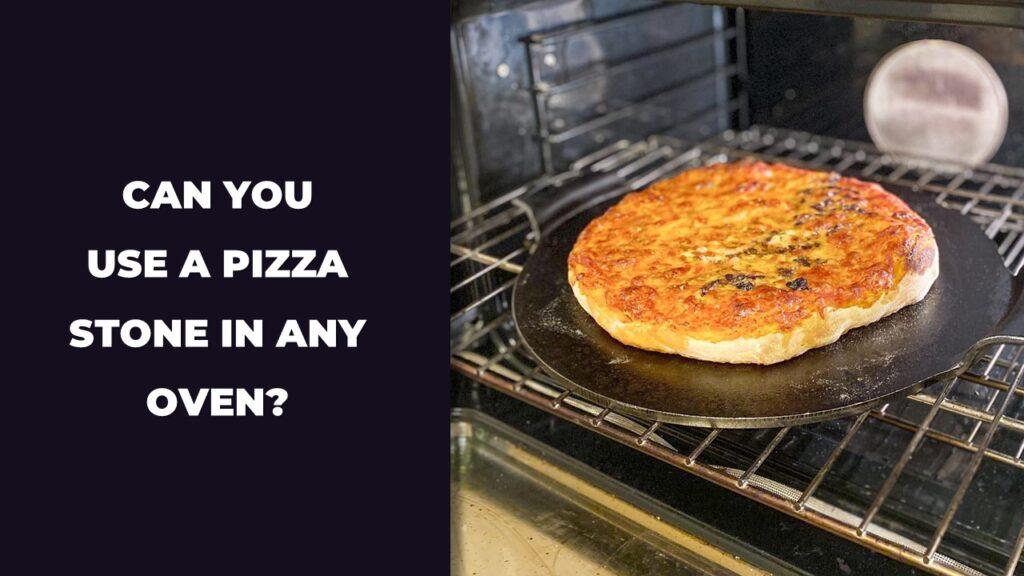
Yes, you can use a pizza stone in almost any oven—including gas, electric, convection, and even toaster ovens—if it fits and heats evenly. The key is to place the stone in a cold oven, let it preheat fully, and handle it carefully to avoid cracks or damage. A good pizza stone helps you get that crispy, golden crust by mimicking the high heat and dry surface of a brick oven.
In this article, we’re going to walk you through how pizza stones actually work, which ovens they’re safe for, and how to use one the right way. We’ll also cover cleaning tips, common mistakes to avoid, and other things you can cook on it besides pizza.
What Is a Pizza Stone and How Does It Work?
A pizza stone is a flat, heavy cooking surface made from materials like ceramic, cordierite, or steel. It works by absorbing heat from your oven and spreading it evenly under the pizza. This steady, dry heat helps create a crisp crust, similar to what you’d get from a brick oven.
When you place dough on a hot pizza stone, the surface pulls moisture from the bottom of the crust. That’s what makes the base crisp up while the inside stays soft. Unlike a baking sheet, which often traps steam, a stone keeps things dry and evenly heated.
Pizza stones come in different shapes and sizes, but the idea is the same—they hold heat and cook the bottom of the pizza fast and evenly. They’re great for homemade pizzas, but also work well for bread, flatbreads, and even things like quesadillas or cookies.
They sit directly on your oven rack, usually on the lowest one. You put the stone in while the oven is still cold, then preheat it for 30 to 60 minutes. This way, it heats up slowly and evenly, helping avoid cracks and getting it hot enough to crisp the crust properly.
Can You Use a Pizza Stone in Any Type of Oven?
Yes, you can use a pizza stone in almost any oven—conventional, convection, gas, electric, toaster ovens, and even on outdoor grills. As long as the stone fits, heats gradually, and is placed correctly, it can help you get that crisp, brick-oven-style crust in your home oven.
Each type of oven works a little differently with a pizza stone. Here’s how to make the most of it depending on what you’re using.
Conventional Ovens
Conventional ovens heat from the top and bottom without a fan. This dry, steady heat makes them a good match for pizza stones if you place the stone in the right spot and give it enough time to warm up.
- Place the stone on the lowest rack to absorb direct heat from below.
- Preheat the oven with the stone inside for at least 30 to 60 minutes.
- Don’t place cold or frozen pizza on a hot stone—this can crack it.
- Rotate the pizza during baking for even browning.
Convection Ovens
Convection ovens use a fan to move hot air around the oven. This can speed up cooking and create a more even top, but it may brown the toppings faster than the crust.
- Use the middle rack for balanced airflow and heat.
- Lower the temperature by about 25°F unless your oven auto-adjusts.
- Bake time is usually shorter, so keep an eye on it.
- If one side crisps faster, rotate the pizza halfway through.
Gas Ovens
Gas ovens often have hotter bottoms and more moisture inside, which can lead to uneven results without a little planning. A pizza stone helps by evening out the heat under your crust.
- Place the stone on the middle or lower rack based on how your oven heats.
- Preheat the stone for 45 minutes or longer to handle heat swings.
- Keep the stone away from direct flame to prevent cracking.
- Rotate the pizza to deal with hot spots.
Electric Ovens
Electric ovens heat evenly and hold temperature well, which makes them a good choice for baking with a pizza stone. You’ll usually get reliable results once you find your oven’s sweet spot.
- Use the lower-middle rack for a crisp crust and even top.
- Always preheat the oven and stone together for at least 30 minutes.
- Avoid using broil mode unless the stone is rated for high top heat.
- Baking is consistent and easy to repeat across batches.
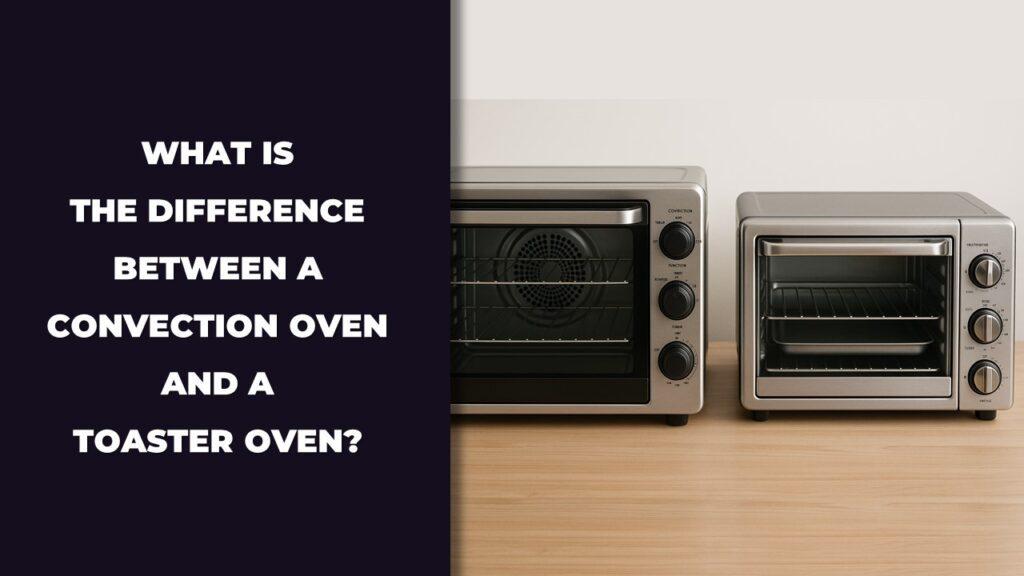
Toaster Ovens And Countertop Ovens
Small ovens can work with pizza stones too, but you’ll need to pay attention to size and airflow. They heat up fast and bake quickly, which can be helpful in a pinch.
- Pick a thin stone that fits with room on all sides.
- Leave at least one inch of space around the stone for airflow.
- Don’t block heating elements—top or bottom.
- Best for small pizzas, flatbreads, or quick bakes.
Outdoor Grills And Pizza Ovens
Pizza stones work well on outdoor grills and inside dedicated pizza ovens. These setups offer high heat and fast baking, but you’ll need the right kind of stone to handle it safely.
- Use cordierite or steel stones that are built for high heat.
- Preheat slowly with the grill lid closed to avoid cracking.
- Keep the stone off direct flame to reduce stress on the material.
- Great for smoky flavors and that classic charred crust.
Step-By-Step Guide: How To Use A Pizza Stone Safely In Any Oven
Here is the step-by-step method to use a pizza stone the right way:
- Place the stone in a cold oven to prevent cracking
- Preheat the oven with the stone for 30–60 minutes
- Build your pizza on a peel or parchment for easy transfer
- Bake for 8–12 minutes, rotate if needed
- Let the stone cool completely before removing or cleaning
This simple routine helps you get that golden, crispy crust without damaging your stone or burning your pizza. Now let’s go over each step in more detail so you can bake with confidence.
Step 1: Place Stone In Cold Oven
Always put your pizza stone in a cold oven before turning the heat on. Sudden temperature changes can cause it to crack, especially if it’s ceramic or cordierite.
If you place a cold stone into an already hot oven—or a cold pizza onto a very hot stone—you’re risking breakage. The goal is to warm everything gradually.
- Set the stone on the lowest or middle rack
- Make sure it’s level and not touching the oven walls
- Keep it dry—never use a wet or damp stone
Step 2: Preheat Thoroughly
Pizza stones need time to soak up heat and reach the right temperature for crisping the crust. A short preheat won’t cut it.
Plan ahead so the stone gets plenty of time to heat up with the oven.
- Set your oven to 450°F to 500°F
- Let the stone preheat for at least 30 minutes—up to an hour is better
- Use an oven thermometer if your appliance isn’t always reliable
This step makes all the difference between a chewy crust and a crunchy one.
Step 3: Prepare Pizza On A Peel Or Parchment
While your oven and stone are heating up, build your pizza on something that makes transferring it easy.
A pizza peel is ideal, but a flat cutting board or piece of parchment also works. Just don’t try to build your pizza on the countertop and move it by hand—chances are, it will stick or fall apart.
- Dust the surface with cornmeal or flour
- Keep your dough and toppings balanced—not too heavy in the middle
- Do a quick shake test before launching to see if it slides freely
If it sticks, carefully lift one side and add a little more flour or cornmeal underneath.
Step 4: Bake And Monitor
Once the stone is hot and your pizza is prepped, it’s time to bake. Open the oven door quickly, slide the pizza onto the stone, and close the door to hold in the heat.
- Bake 8 to 12 minutes depending on your crust thickness and oven
- Rotate the pizza once if one side is browning faster than the other
- Watch the cheese—it should bubble and turn golden
Keep in mind, smaller ovens may cook faster. Trust your eyes more than the timer.
Step 5: Cool Down And Remove Carefully
After baking, take the pizza off the stone using your peel or a wide spatula. Then leave the stone right where it is—inside the oven—and let it cool naturally.
Moving a hot stone or putting water on it too soon can ruin it.
- Never try to clean the stone while it’s still hot
- Let it cool completely before removing or wiping down
- Use a dry brush or plastic scraper to clean off crumbs or burnt bits
If you want to store the stone elsewhere, wait until it’s room temperature. But honestly, leaving it in the oven works just fine—it’s safe and always ready for next time.
Common Mistakes To Avoid When Using A Pizza Stone
Many pizza stones break or perform poorly because of simple handling mistakes. These usually involve sudden temperature changes, improper cleaning, or skipping preheating. Avoiding these common errors helps your stone last longer and cook better.
Here are the biggest things to watch out for:
- Cold Stone in Hot Oven: Always place the stone in a cold oven before turning it on to avoid cracks.
- Frozen Food on Hot Stone: Let frozen items thaw before placing them on a hot stone.
- Using Soap: Pizza stones are porous and will absorb the soap, which can affect taste.
- Not Preheating Long Enough: A short preheat means soggy crust instead of crisp.
- Washing with Water: Water can soak in and cause damage during the next bake.
- Scraping with Metal: Metal tools can scratch and weaken the surface.
Best Practices For Cleaning And Storing A Pizza Stone
Pizza stones don’t need deep cleaning, just the right routine. Let the stone cool down first, then scrape it clean without using soap or soaking. Proper storage also keeps it ready and safe for your next pizza night.
Follow these tips to keep your stone in good shape:
- Cool Before Cleaning: Always let the stone cool completely before handling.
- Use a Scraper or Brush: A plastic scraper or dry brush works well for stuck bits.
- Tackle Tough Spots: Make a paste with baking soda and water, then scrub gently.
- Avoid Soap and Soaking: The stone will absorb both, which can ruin future bakes.
- Wipe Dry: Use a dry cloth or paper towel to clean the surface.
- Store in Oven: Keeping it in your oven protects it and helps maintain temperature balance.
Accessories That Make Pizza Stone Use Easier
The right accessories can turn a tricky pizza transfer into a smooth, mess-free process. They also make cleaning and handling the stone much easier. A few simple tools can upgrade your baking experience from start to finish.
Here are the top tools to have nearby:
- Pizza Peel: Helps move raw and cooked pizza on and off the stone with ease.
- Cornmeal or Semolina: Reduces sticking and makes sliding smoother.
- Oven Thermometer: Confirms your oven has reached the right temperature.
- Infrared Thermometer: Lets you check the surface heat of the stone directly.
- Scraper or Brush: Keeps your stone clean without damaging it.
- Heat-Resistant Gloves: Keeps your hands safe when working near high heat.
What Else Can You Cook On A Pizza Stone?
Pizza stones aren’t just for pizza. Their high heat and even cooking surface make them perfect for a range of foods that need a crispy base or firm texture. From breads to snacks, they can handle more than you might expect.
Here’s a quick look at what you can cook on your pizza stone:
| Food Item | Why It Works on a Pizza Stone |
| Artisan Bread | Holds shape, creates a crusty bottom, and bakes evenly |
| Flatbreads & Naan | Gets that puffy, chewy texture from the dry, hot surface |
| Quesadillas | Crisps up nicely without flipping or extra oil |
| Crackers & Pita Chips | Bakes evenly for a crunchy texture without burning |
| Calzones & Pastries | Prevents soggy bottoms, distributes heat evenly |
| Biscuits & Cookies | Offers even browning and a soft interior without overcooking the base |
Final Thoughts
Yes, a pizza stone is absolutely worth using in any oven—gas, electric, convection, or even a toaster oven. It helps you get that golden, crisp crust that baking sheets just can’t deliver. With a little care, it can last for years and completely change how your homemade pizza turns out.
Whether you’re a casual pizza maker or someone who bakes weekly, a stone gives you more control over texture and heat. It also opens the door to baking other crispy, crusty recipes like breads or quesadillas.
No matter what type of oven you have, a pizza stone adds serious value to your kitchen without being complicated or expensive. It’s a simple tool that delivers big results.
Related FAQs
Can You Put A Pizza Stone In A Convection Microwave?
Yes, but only when using the convection mode. Never use a pizza stone during microwave-only cooking, as it’s not safe and can damage both the stone and the appliance. Always check your oven’s manual for compatibility.
Will A Pizza Stone Crack In A Cold Oven?
No, a pizza stone is meant to go into a cold oven and warm up gradually. This prevents thermal shock. What causes cracking is placing a cold stone into an already hot oven, or exposing it to rapid temperature changes.
Can You Cook A Frozen Pizza On A Pizza Stone?
Yes, you can, but it’s better to let the pizza thaw slightly before baking. Placing an ice-cold pizza directly on a hot stone could cause uneven cooking or even stress the stone. Let it sit at room temperature for 10–15 minutes first.
Is There A Difference Between A Pizza Stone And A Baking Stone?
Functionally, they’re the same. Both are used to bake items with a crisp base. The difference often comes down to size, shape, and material. Pizza stones tend to be round, while baking stones are often rectangular and more versatile.
Can You Use Parchment Paper On A Pizza Stone?
Yes, you can use parchment paper, but only up to its heat limit (usually 450°F). It makes transferring and cleanup easier. Just avoid letting the edges hang over, and never use wax paper—it will burn.
How Long Does A Pizza Stone Take To Preheat?
A pizza stone should preheat for at least 30 minutes to reach full baking temperature. For best results, aim for 45–60 minutes if your oven is slow to heat. This allows the stone to store enough heat for a crisp, well-baked crust.

Max Fletcher is a self-taught electrician-turned-baker who combines technical know-how with a love for baking to help readers get the most from their ovens. Drawing on years of electrical experience and hands-on kitchen testing, he shares practical guides and reviews on oven performance, safety, and baking results, all with the heart of a family man who believes great food starts with understanding your tools.